Change RGB Effects & Per-Key Colors on Wireless Keyboards
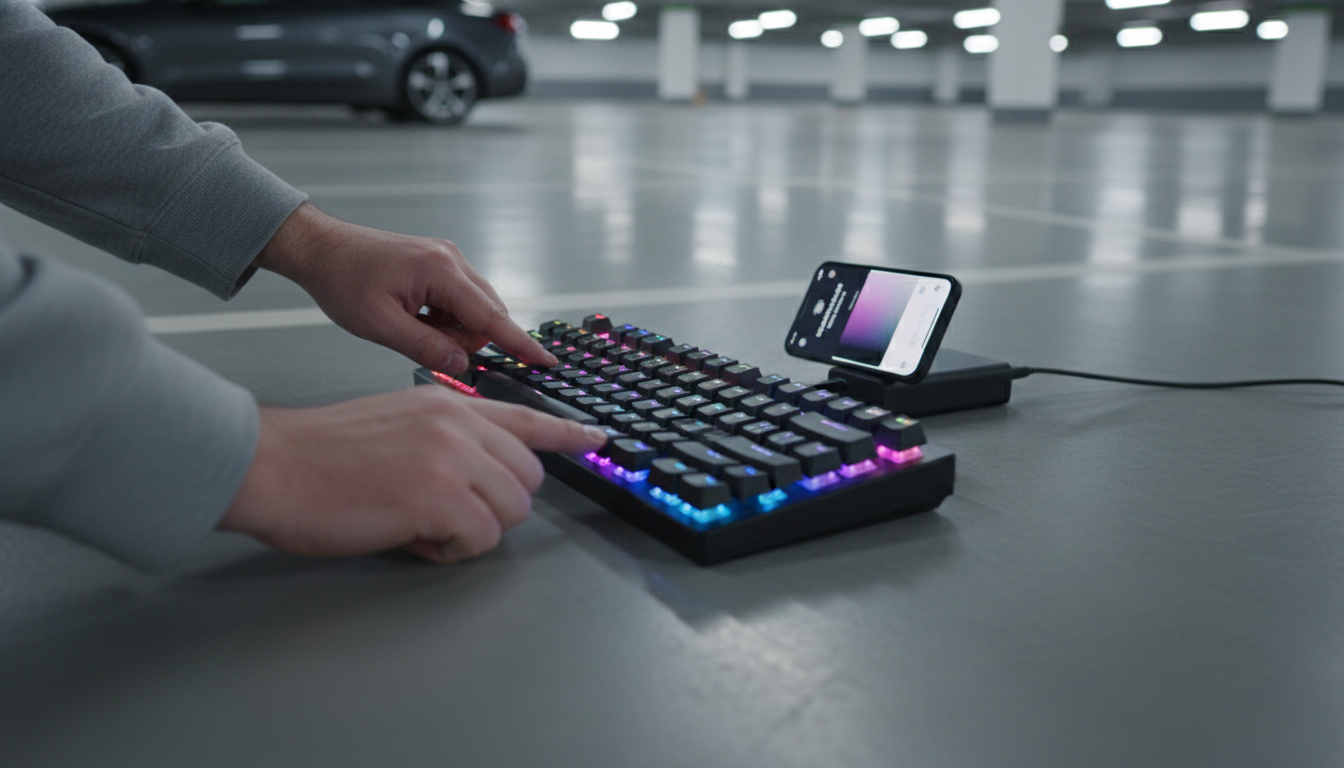
How do you change RGB lighting effects and per-key colors on a wireless mechanical gaming keyboard?
Most wireless mechanical gaming keyboards let you adjust RGB in two ways: directly from the keyboard using built-in shortcuts, or through the brand’s companion software (on Windows/macOS) for deeper control like per-key color mapping and saved profiles. The exact steps vary by model, but the workflow is usually the same: pick an effect, tweak speed/brightness/direction, then assign colors to individual keys if your board supports it.
Change lighting effects using the keyboard (no software)
Start by checking for a lighting “function layer,” commonly Fn plus a key with a sun/light icon. Typical controls include:
- Cycle effects: Fn + (a dedicated lighting key) or Fn + arrow keys, depending on the board.
- Brightness: Fn + Up/Down (or +/-) to raise or lower intensity.
- Speed: Fn + Left/Right to slow down or speed up animations.
- Color (for single-color effects): Fn + a color key to rotate through presets.
If your keyboard has onboard profiles, you may also be able to save a preferred effect to a profile slot so it loads even when you switch devices or use Bluetooth.
Set per-key RGB colors with software
For true per-key customization, install the manufacturer’s software (or a supported third-party tool if your keyboard is compatible). Connect the keyboard via USB or the recommended wireless dongle during setup—many boards restrict programming over Bluetooth to avoid interruptions.
Inside the lighting section, look for modes like Per-Key, Custom, or Static. Then:
- Select keys on the on-screen layout (drag to select multiple keys).
- Choose a color using the picker, RGB sliders, or preset palette.
- Assign effects to layers (base, reactive, ripple) if available.
- Save to the keyboard’s onboard memory (if supported) so it works wirelessly without the app running.
Troubleshooting common RGB issues
If changes don’t stick, confirm you saved to onboard memory (not just the software), verify battery level, and ensure you’re in the correct connection mode (2.4 GHz vs. Bluetooth). Some keyboards disable bright effects in power-saving mode.
For model-specific shortcuts, software screenshots, and detailed steps, visit the full guide: https://legendene.com/how-do-you-change-rgb-lighting-effects-and-per-key-colors-on-a-wireless-mechanical-gaming-keyboard/.
FAQ
Why won’t my RGB settings save after I disconnect the keyboard?
Your changes may be stored only in the software profile, not the keyboard’s onboard memory. Reconnect via USB or the 2.4 GHz dongle, then use the app’s “Save to device/onboard” option (if your model supports it).


Leave a comment